
State and Client Data Model In Frontend System Design
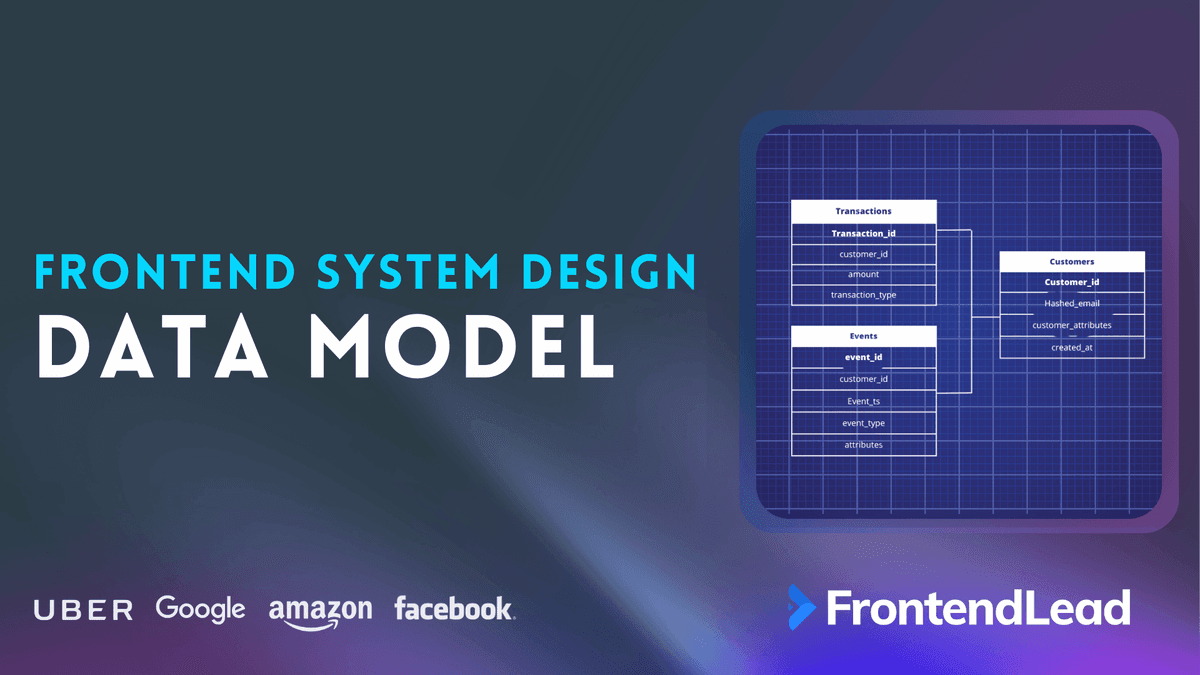
In this portion of the interview, spend about half your time discussing how you’ll handle state on the client, and the other half on the actual data model you’ll use in your frontend. Redux’s guide to normalizing state shape is a good companion to this section.
Please spend no more than 15% of your interview explaining this portion.
State Management on the Client
State management is one of those things everyone has an opinion about. There are plenty of options, each with its strengths and trade-offs.
Here are the most common choices you’ll see in real-world frontend projects.
| Type | Description |
|---|---|
| useState | React’s built-in hook for managing local component state. It is best for isolated UI pieces or small components. |
| useContext | Built-in React API for passing data through the component tree without prop drilling. Works well for global values like authentication, themes, or language settings. |
| Redux | Powerful state management library for large, complex apps that need global state and strict control over how state changes. |
| Recoil | Provides atomic state and derived data, making managing and sharing state across components easier. Meta archived Recoil in 2025; Jotai offers the same atomic model and is actively maintained. |
| Zustand | Minimalistic and flexible state management, simple API, good performance for medium-sized apps. |
| MobX | Uses observables for automatic state tracking, helps with complex reactivity patterns. |
A combination of useContext and useState for most front-end apps covers most cases. It keeps things simple and easy to follow, especially when the app is not massive.
UseContext vs Redux: Pros and Cons
If you’re comparing useContext to Redux, it’s pretty clear-cut for most modern apps.
| useContext | Redux | |
|---|---|---|
| Setup | Minimal, comes with React | More setup, external library (Redux Toolkit cuts most of the boilerplate) |
| Complexity | Straightforward, easy to reason about | Heavy, introduces extra layers and patterns |
| Performance | Good when values change rarely; every consumer re-renders on each change | Selectors re-render only components whose slice changed |
| Flexibility | Enough for most global data | Useful mainly for legacy or massive codebases |
| Tooling | Basic | Has its own set of devtools |
| Learning Curve | Quick for any React dev | Steep and often not worth it |
In most cases, useContext provides everything you need for a global state. It keeps things clean, is easy to debug, and doesn’t require learning a whole new system.
Data to be Persisted
Sometimes, you need data to persist across page refreshes or support offline access. Most of the time, fetching the latest data from the server is enough. But if you want to reduce server requests, speed up your app, or enable offline support, you’ll need client-side storage.
On the web, your main options are local storage, session storage, IndexedDB, and cookies. Each has its own strengths and limitations, especially regarding storage size and data structure.
| Storage Type | Pros | Cons |
|---|---|---|
| Local Storage | Simple, persists after refresh, easy to use | Synchronous, small size limit, plain string values |
| Session Storage | Same as local storage, but data clears on tab close | Data lost on close, small size limit |
| IndexedDB | Ample storage, supports complex objects, asynchronous | API is more complex, browser quirks |
| Cookies | Sent with requests, used for auth/session; httpOnly cookies are the safest place for session tokens | Tiny size (~4 KB), sent with every request, so not for app data |
| Cache API (Service Worker) | Stores full HTTP responses, the backbone of offline support | Only for request/response pairs, needs a service worker |
Scoped vs Global State
When it comes to state, it’s crucial not to default to global state for everything. Most of the time, having a scoped state at the component or feature level simplifies and makes your app more performant. Only reach for global state (with tools like useContext) when you truly need to share data between different views or parts of your app.
Here’s a quick table comparing scoped state to global state, especially in terms of re-renders:
| State Type | Use Case | Impact on Re-renders |
|---|---|---|
| Scoped State | State used only in one component or a small subtree | Only the owning component and its children re-render when the state changes. Keeps updates local and efficient. |
| Global State | State is shared across multiple views or distant components | All components that consume the global state will re-render on any state change, which can impact performance if not managed carefully. This is true with Context. Selector-based stores (Redux, Zustand) only re-render components whose selected slice changed. |
Choosing the proper scope for your state helps avoid unnecessary re-renders and keeps your app fast. Use global state only when truly necessary.
Next up, an example for building out a client data model.
Client Data Model

A clear and well-defined client data model is the foundation of a reliable frontend architecture. The data model lays out the types you need to render content on the client, and it should mirror the actual entities your UI works with. Good modeling helps keep your state predictable, makes components easier to build, and allows for efficient updates and rendering.
When building out your client data model, start by identifying the core entities in your app. For a feed-based product, this might include things like users, feed items, comments, and user settings. Group related data together and keep your types organized, so it’s clear how each piece of state fits into the overall app structure.
The following example demonstrates how to structure your types using TypeScript. This approach makes the shape of your data explicit and helps with both development and maintenance.
// Root app state
type App = {
  user: User;
  settings: UserSettings;
  feed: Feed;
};

// Feed and feed items
type Feed = {
  items: FeedItem[];
  page: number;
  size: number;
};

type FeedItem = {
  id: string;
  type: FeedItemType;
  creationDate: string;
  author: User;
  content: FeedItemContent;
  comments: FeedItemComment[];
};

type FeedItemContent = {
  title: StyledText;
  body: StyledText;
  media?: Media;
};

// Supporting types
type User = {
  id: string;
  name: string;
  // ...other user fields
};

type UserSettings = {
  timeZone: string;
  accessibilityPreferences: AccessibilityPreferences;
  // ...other settings
};

type FeedItemComment = {
  id: string;
  author: User;
  content: StyledText;
  creationDate: string;
  // ...other comment fields
};

type StyledText = {
  // Rich text, colors, links, mentions, etc.
  // Server-driven UI structure
};

type Media = {
  url: string;
  type: 'image' | 'video' | 'audio';
  // ...other media fields
};

type FeedItemType = 'post' | 'announcement' | 'update'; // Example types

type AccessibilityPreferences = {
  fontSize: string;
  contrastMode: boolean;
  // ...other preferences
};
In this model, each type is built for a clear responsibility. The App root type holds the user, settings, and feed data. The Feed list contains FeedItem objects, each with metadata, content, and comments. Content and comments use a StyledText structure to support rich text, colors, links, and mentions. User settings are scoped to the user, making room for accessibility features.
Modeling your client data this way keeps the shape of your state explicit, so you always know what to expect in your components. It also sets you up for scalable code, as new features or entities can be added to the types without significant rewrites. Well-structured models lead to easier debugging and better overall performance on your front end.
Data Normalization
Whenever possible, aim for a normalized data structure on the client. Normalization means storing each entity type (like users, posts, and comments) separately by ID rather than nesting full objects within other objects. This approach avoids data duplication, keeps your state consistent, and simplifies updates.
Here’s a quick example of a non-normalized versus normalized state shape:
Non-normalized:
const feed = [
  {
    id: "post1",
    author: { id: "user1", name: "Alice" },
    content: "Hello world",
    comments: [
      { id: "comment1", author: { id: "user2", name: "Bob" }, text: "Nice post!" }
    ]
  }
];
Normalized:
const users = {
  user1: { id: "user1", name: "Alice" },
  user2: { id: "user2", name: "Bob" }
};

const posts = {
  post1: {
    id: "post1",
    authorId: "user1",
    content: "Hello world",
    commentIds: ["comment1"]
  }
};

const comments = {
  comment1: {
    id: "comment1",
    authorId: "user2",
    text: "Nice post!"
  }
};
With normalization, updates to a user or comment happen in a single place, and you never have to worry about stale or duplicated data across the app. This pattern works well for any frontend that handles dynamic or relational data.
Next, let’s move on to the I in R.A.D.I.O, which stands for Interface design. This is a fancy way of saying, “Let’s build the API layer.”